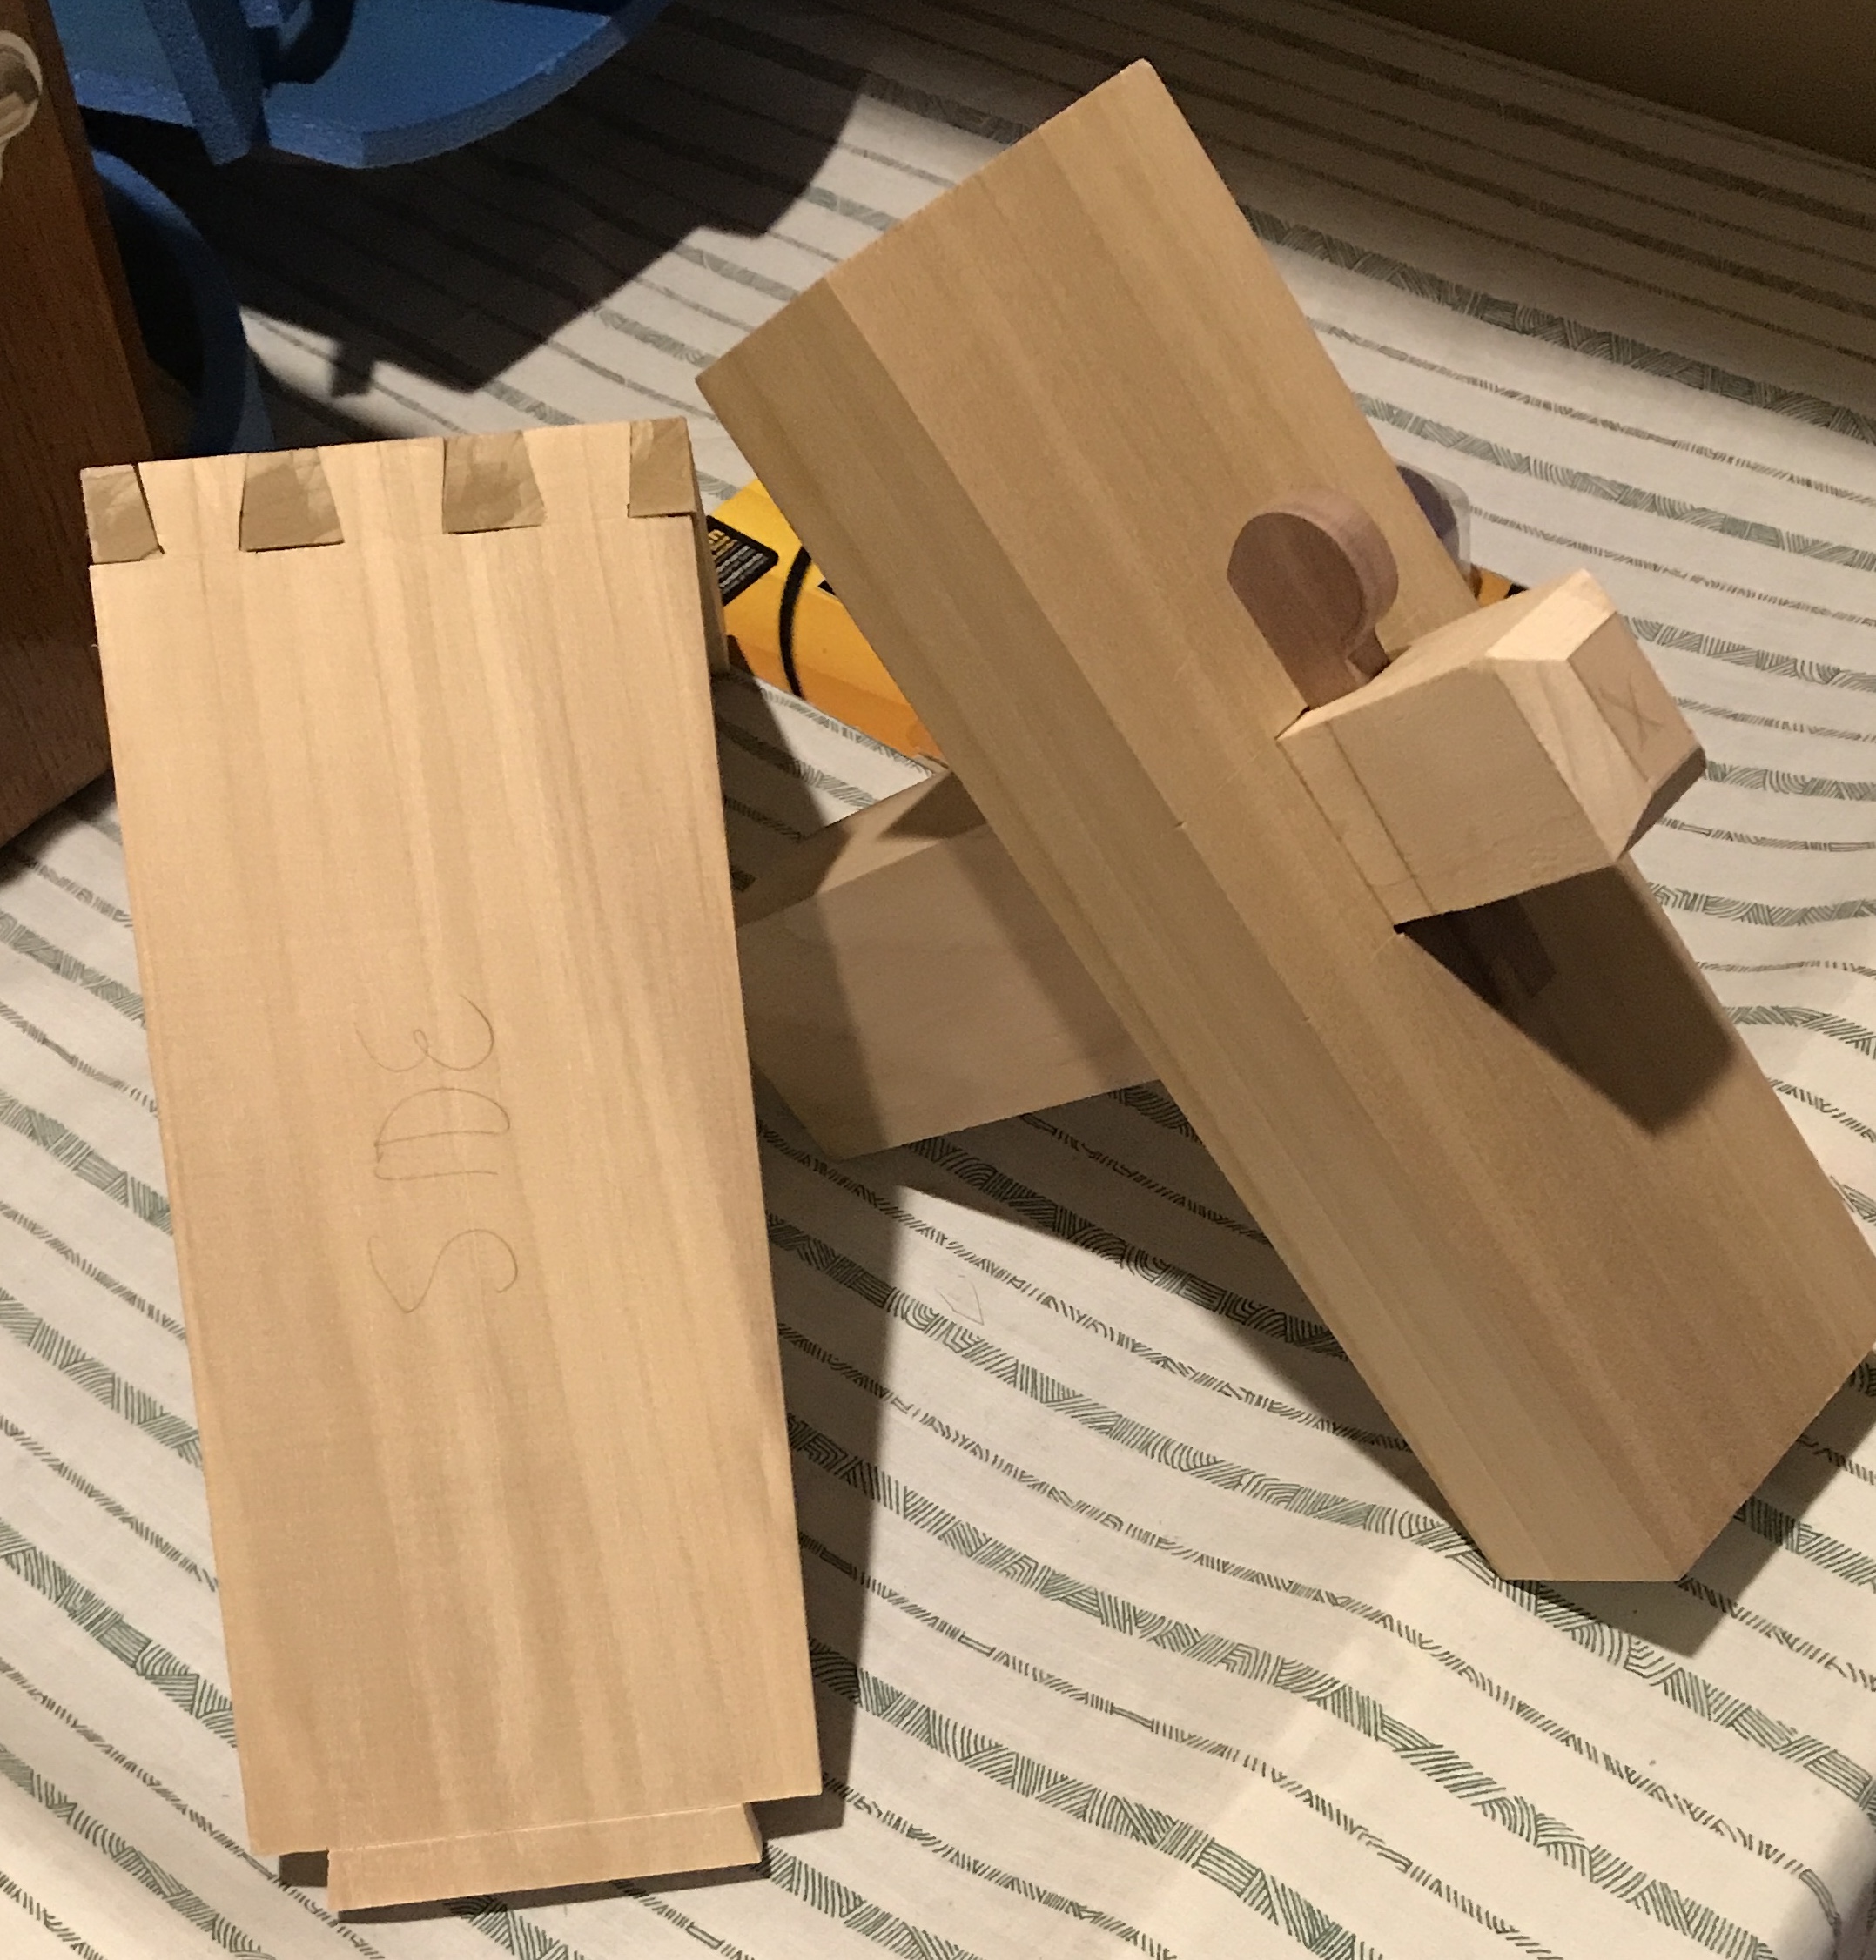
I recently attended a joinery class at Marc Adams School of Woodworking. The class was Joinery 1 taught by Marc. I will attempt to transcribe my class notes to html over the next few days. In summary it was a great, but demanding course. We were assigned more joints than I could complete. Two pictures below show the variety of joints made. Many more dovetails were also made, but not shown below.

The course started off with a general discussion of joining wood parts. There are four mothods to achieve this: mechanical with fasteners, adhesion with glue, a worked joint with a friction fit, and combinations of the above. Four things need to be considered when selecting a joint type: stress, dimensional change, grain direction, and fit quality desired.
Dimensional change is an important consideration for wood because wood is hygroscopic. As a consequence of this it continually moves as humidity changes. Joinery must be done on dry wood, so after leaving the shop the environment can have a large impact. There is a large difference between kiln-dried and air-dried lumber. Nowadays almost all lumber is kiln-dried. Air-dried lumber has better color and cuts easier (hydrated lignin is softer). It can exhibit an 8-18% change in water content, so it moves more. Unlike kiln-dried lumber air-dried lumber can be bent.
Grain varies depending on where the board came from in the log. Flat or plain sawn lumber exhibits arcs of the growth rings across the end of the board that span the width of the board. Quarter sawn lumber reveals arcs that span the height of the board. Finally, rift sawn lumber has arcs that fall between flat and quarter cut lumber. The figure on the face of the wood is a result of what the grain does as it travels the length of the board.
Most of the movement in a board is from side to side or bottom to top. There is little movement along the length of a board. The height and width of a board show the most movement and the ratio of their movement depends on the direction of the growth rings. For flat sawn lumber the width of a board will expand/contract twice as much proportionally as the height of the board. While for quarter sawn lumber this ratio is reversed. This is one of the key reasons dowels every 6" are used to keep table tops flat.
Scrapers are used to remove mill marks, pencil marks, router marks, paint, and other finishes. They can be used to scrape veneer with little worry about "sanding through". If sanding is desired after scraping it can begin with 300 grit paper. Marc recommends Bahco scrapers.
Sharpening a scraper consists of three steps. First the edge is flattened with a waterstone while supported with a block of wood. Alternatively, a good 6" mill file can be used for flattening. The 6" mill file cuts on the push and has finer teeth than a larger file. It is difficult to use a block of wood on the mill file. In order to keep the scraper perpendicular to the file clamp the scraper in a vise, keep fingers on both sides of the scraper, and run the file at an angle across the edge of the scraper. Second, the face of the scraper needs to be flattened. This can be done with any metal harder than the scraper, e.g. the corner of a chisel. WD-40 or other light oil can be used as a lubricant. This requires very light pressure with the hard corner kept parallel to the face of the scraper. Third, use light pressure (5-10 lbs) to pull the hardened edge toward you along the edge of the file at an angle to create a fine burr. The angle of the file should be kept low (-15°) or using the scraper will be difficult. The scraper when used is held at the complementary angle to that which made the burr, i.e. 75°. The oil can damage some wood like veneer and should be removed with soapy water in such cases.
A scraper can be used in either a push or pull fashion. In either case the scraper is held at the largest vertical angle that just provides a cutting action. In the push mode the fingers are on the sides of the scraper and the thumbs are together in the back. The scraper is rotated up and down until the burr catches. The scraper is held at an angle to the direction of pushing. The scraper should be slightly curved by differential pressure between fingers and thumbs. The removed curls of wood should be < 0.001" thick. The edge used for cutting should be changed often to control heat. This method does not leave the wood surface as flat as the pull method.
The pull method is a better way to cut using the scraper. The fingers are held straight across the scraper back from top to bottom. The scraper is not bent in a curve. The scraper is held at a slight skew angle (20-30°) to the direction of pulling. Very little heat is generated in this fashion. The scraper is worked across the wood with each ensuing stroke. In both approaches if the burr has been formed correctly, large curls of wood should be produced when scraping.
Marc suggests using a surface plate from Harbor Freight for sharpening using glue-backed sandpaper. The back of the chisel should be flattened with sandpaper up to 600 grit. This should produce a bright, if not mirror-like, finish. The cutting face is sharpened on a belt sander using 220 (or 320 if available) grit paper. A Bosch belt sander is recommended. The graphite paper behind the belt should be removed for sanding chisels, but the sander should not be used for anything else after doing so. The graphite paper helps keep the blade cool, which is not an issue when sharpening a chisel. The chisel should be held at a slight angle close to the bevel. Set it at the correct angle and hold it gently against the paper for about one second. This will leave a large burr. The burr should be removed by honing. Burr removal is done with a firm wheel on a buffer. Yellow grit should be applied sparingly. This color (AKA Herb's yellowstone) is recommended as it has no wax. The yellow grit can be purchased from Herb Dunkle or on Amazon. It should be used sparingly. When honing the buffer should be used from the back side and the tool goes on top of the buffing wheel. It takes some effort and about one minute of buffing to remove the burr.
Always feel the buffing wheel to verify the direction of rotation! Keep both hands on the chisel. No part of the body (yours or anyone else's) should be in front of the chisel.
The process taught is to begin with the easier part and to use this part as a template for the second half of the dovetail. There are always more pins than tails. The pins are always on the outside. The pins always are on the fronts and backs of drawers, so the natural direction of the dovetail's strength resists the pull of opening the drawer. The angle for a dovetail is 14° or a ratio of 1:7. Anything between 6° and 20° will work. The angle provides the locking strength. A simple angle chart can be made up and kept handy for setting an angle gauge. Simply draw a line up the middle of a board and divide it into equal increments. Mark equal sized increments along the bottom edge of the board. Draw lines from vertical increment down to horizontal increment (e.g. from 8 to 1) to get the desired ratio.
The method taught in this class is cutting pins first as templates for tails. There are a few dovetails that require cutting tails first. These and other complex joints are taught in Joinery II.
That should have been the title of the course.
If you lay out accurately and cut to the line, the parts will fit. First label the front and the side parts. Also label the inside. A marking gauge is used, but the knife's bevel must face the fence with the flat facing the outside. Once in a while the shaft and face should be waxed. Marc prefers a curved knife on the end of the shaft, Jeff Hamilton marking gauge. The knife should stick out 1/16-1/8".
On through dovetails both pins and tails are proud of the adjacent surface. Set the marking gauge slightly greater than the width of the wood. (When using two boards of identical thickness.) Scribe all four sides of the end of the wood on both pieces. If it is difficult to see the scribe lines, flatten the sides of a pencil to get a razor sharp end and draw over the lines. Place the front piece in a vise so you are looking at the side marked "inside". Draw 2 angled lines using the angle gauge on the end grain, so the pins are wider on the inside. Using a square run the lines down both sides of the board to the scribed lines.
The pencil lines are for sawing and the knife marks are for the chisel.
When using the Japanese dozuki saw a finger and thumb should be used for a fence. Finger on the top of the wood and the thumb on the front. Start the cut at a high angle and drop the blade with each pass. Then watch the line down the front side of the board. Check the top line every so often to make sure it is also being followed. Finish the outside all the way down before starting the opposite side. Remember this saw cuts on the pull stroke.
Cut on the lines with the dozuki saw. Remove the waste with a chisel that is narrower than the width of the waste stock. First, establish the scribe line with the chisel on both sides. The flat chisel side is away from the waste. A few light taps with the mallet should be sufficient to create a cut that is about 1/16" deep. Then set the chisel about 1/8" from this cut line (into the waste) and push the chisel down into the wood and toward the cut line to remove the first chip. Repeat this on the opposite side. This establishes the cut line. Work over the leg of the work bench. The process continues by chiseling straight down along the line followed by chiseling out a waste chip with each ensuing cut using more force to push the cut line deeper into the wood and removing a larger chip. When the cut is about half-way through one side, flip the board over and complete the waste removal from the other side. When the bulk of the waste has been removed clean up the bottom and corners with the chisel (not the sides!)
Line the newly cut pins up on the scribe line of the side. Use the Exacto knife to mark the inside of the pins (or outside of the tails). Then mark out the waste to be removed. Do this work on the inside face of the side. Put the knife in the kerf on the corner and using a square mark the ends of the tails on the end grain. No marks are made on the backside. Cut to the waste side of the scribed lines on the tails using the dozuki saw (~ 1/32" inside the scribed line). Use the chisel to remove the waste down to the line. First the sides and then the end grain. Do the edges of the end grain on both sides and then do the middle. The 6" file can be used to carefully remove material if the fit is too tight.
The dovetail is now completed and should provide a tight fit, maybe even requiring the use of a mallet to complete assembly.
This dovetail was to be made such that the side went about 2/3 of the way into the front. First, the front, sides and insides of the parts were labeled as before. The marking gauge was set for about 2/3 of the width of the front and a line was scribed on the front's end grain. The gauge is then used as set to scribe all the way around the end of the side. The marking gauge was reset to the exact thickness of the side by feel. It was then used to mark the inside edge of the the front. The pins were marked with pencil and the lines extended with a square down the inside only.
The pencil lines were then cut with the saw held at a steep angle; cutting only line to line. The waste was chiseled out from the center to give the end pieces room to free up. The chisel work should ease slowly down to the finish line. For the last cut walk the chisel down the line and carefully remove the last bits of waste. There is a lot of waste left in the corners due to the angle of the saw. An Exacto knife can be used to help remove this as needed. Work your way across the face of this waste and then down the back.
The first thing to do is equalize the pieces: Transfer the width of the smaller to the larger on both sides and the end if needed. Scribe appropriate widths on both boards. Ignore extra on the front and draw the pins. Draw the sides of the pins to the scribed line. Cut the pins and remove the waste. When removing debris from the corners only work to the halfway point.
Sometimes it is necessary to clamp the pieces to transfer the pins. Mark the tails, cut on the waste side, and remove the waste. Put pencil lead on the leading edges and fit the pieces together. This will show where any hang-up is. Don't use too much lead as it can color the joint. Another approach is to put the joint half-way together to see where it is tight. Never use a file or sandpaper on dovetails as this can round the edges.
These joints are used in case construction. They will lock lock a horizontal member to a vertical member. Lap dovetails are also a template joint. Label the tops and the inside faces. On the vertical piece draw a pencil line for the edge of the cross board, then draw the other side. (Sight the lines as needed.) Extend the lines down the inside. Set the marking gauge proud on the thickness of the vertical and mark all four sides of the horizontal. Accurately set the gauge to the thickness of the horizontal and scribe both faces of the vertical.
Draw a TAIL on the horizontal part. This will be the template.
When using a saw to cut the tail, cut the shoulders in the waste. Use a chisel or rasp to smooth the faces of the tail. Take care with the edges and do not go across the grain to avoid tearout. Clean the shoulder to the scribe line.
A good place to get a rasp sharpened (once or twice is the limit) is Boggs Tool and File Sharpening. 800‑547‑5244
Transfer the tail to the vertical piece. (Top to top and inside to inside!) Good, deep knife marks are needed for this transfer. Align the edge and one corner. After establishing good marks, go over them and make them even deeper. Transfer these marks to the sides (again deep marks) and also make the original scribe lines deeper.
Use a saw to cut on the waste side. Chisel out the waste, but only close (~1/16") to the scribe line. Start with the chisel 1/8" from the edge and establish the line. Work the chisel across, but stop short of the opposite line. Work all the way down leaving both edges. Using the chisel carefully pare the sides to the lines. The go back to the long grain, establish the edge and carefully pare down from both sides. Clean up as needed.
Don't push the chisel through the back side of the opening! This will cause significant tearout.
Order the four sides and label them with an X on the tops and their position the inside. The following if ro through dovetails. Scribe all eight ends slightly proud. Lay out all four sets of pins, cut them and clean them all up. Finally, transfer the pin profiles and cut/clean all of the tails.
Make a converging chart out of wood. Put a center line on the wood, this will be the center line of the chart. Make equidistant vertical and horizontal lines (in a light color) across the board. Pick a spot on the center line near the top of the chart. Draw angled lines from this point to the bottom of the chart ending at each of the vertical equidistant lines. Each line then represents a different ratio. These are used to set the adjustable angle for dovetail marking.
A large part of the strength of the dovetail is determined by the size of the pins. Small pins should only be used for thin wood and are best cut with a scroll saw. For the most strength pins and tails should have the same width.
This is a difficult joint to set up with the router. Even for a perfectly cut joint, the longer it is the more difficult it is to slide the joint completely home. The dado is cut first and then each side is separately cut. The same bit height is used for both the dado and the tail. A butterfly joint with one face covered can be used to simulate a sliding dovetail.
This is a mathematical joint. Its strength derives solely from the tenon. Tenons can be splined or doweled to keep them from pulling out of the mortise. The mortise is the most difficult to cut. The following instructions are for hand chopping a mortise.
The layout is done off of the centerpoint of the mortise. To find the center draw cross lines to find the center point in both directions. Label the tops and X the insides and back side of the mortise part. Draw boundaries and transfer them all the way around the mortise part. Scribe the thickness (proud) of the mortise part on the tenon part. Scratch the centerlines on the mortise part. Scratch marks for the distances. Keep the straight side of the knife to the outside, so set the gauge from the long side. Reset before marking the second side as the center might not be correct. Use the square to mark the other lines and transfer around the tenon with tick marks.
Find the center on the end of the tenon. Measure and scratch the sides. Mark with the straight side on the inside. Reset between the opposing sides. Bring the scratch lines down the sides.
The end grain is chopped first. Start the cutting on the non-exposed side. The mortise is chopped out by carefully establishing a rim and removing the chips toward the waste or inside. Repeat the above with a longer chip. Drive the next cuts firmly on the ends and lighter on the long grain sides. Turn the bevel down and start at the halfway point. Leave a peak in the center. Take the peak out in the next pass.
Take care to never damage the outside edge by levering out chips.
Cut a little over halfway through. Flip the part over and begin on the exposed side. Establish the walls and cut as described previously. Finish the cut from the first side.. Take care when punching through. Clean the fuzz off with the chisel. Pinch the chisel and use your fingers as a stop. Work from both sides.
The tenon is rough cut on the bandsaw. The cuts are made on the waste side of the lines. The long cuts are made first and then the shoulders. Use the rasp to clean the tenon first and then clean the shoulders. Keep the rasp flat and keep the edge teeth away from the shoulder. Work the whole tenon. Once your are real close to the finished size clean up the shoulders with the chisel. Leave the edges intact. Do the short sides again leaving tabs. Remove the tabs from the corners by going in with the chisel from the corners. This way you can keep the same plane between adjacent sides. Clean up the tenon as needed for a tight fit. The mortise may also need some cleanup in order to get a good fit.
When drilling a mortise drill from both sides about halfway through to avoid tearout. When turning the block over to drill the opposite side keep the same face of the block against the fence. Use a Forstner bit and drill along the center line. The mortise is finished with a chisel and is key to a good fit.